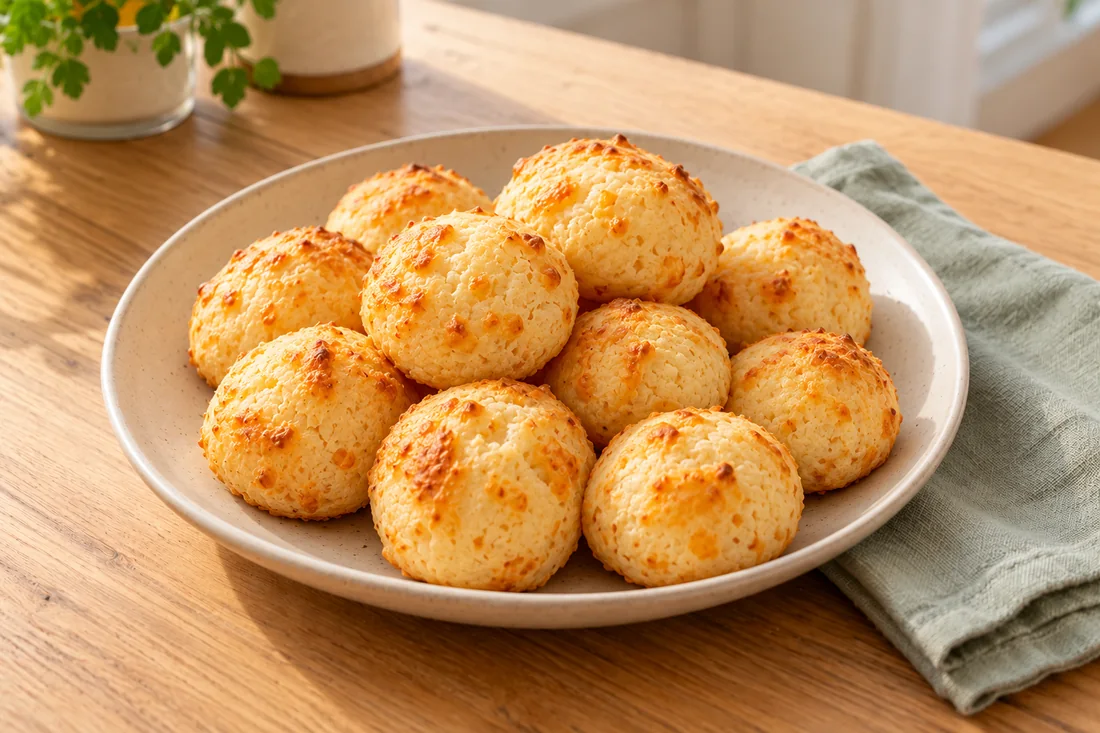
Pão de queijo
Cookware & equipmentInstructions describe the base batch. Ingredient quantities adjust to your selected servings; cooking times and pan sizes may need adjustment.
- Step 1
Follow the recipe
Heat oven to 400°F. Bring milk, oil and salt just to a boil.
- Step 2
Follow the recipe
Pour over tapioca starch and mix; cool promptly until only warm enough to handle safely.
- Step 3
Follow the recipe
Beat in egg and cheese to a sticky dough and shape about 24 small balls with lightly oiled hands.
- Step 4
Follow the recipe
Bake 20–25 minutes until puffed and cooked through. Cheese substitution must be named if Minas cheese is unavailable.
As an Amazon Associate I earn from qualifying purchases. Ingredient links open Amazon searches; check the exact form, package size, allergens and availability. About our links
Cookware for this recipe
Start with what you already own. These are suggested tools, not personally tested recommendations.
As an Amazon Associate I earn from qualifying purchases. About our links
- View on Amazon
Mixing bowl
Use an existing food-safe bowl.
Amazon option: OXO Good Grips Stainless Steel Mixing Bowls, 3-Piece Set
- View on Amazon
Oven mitts
Use intact heat-protective mitts you already own.
Amazon option: KitchenAid Ribbed Soft Silicone Oven Mitts, 2-Pack
- View on Amazon
Rimmed sheet pans
Use an existing rimmed oven-safe tray; original chicken dinner requires two separate pans.
Amazon option: Nordic Ware Naturals Half Sheet Pans, 2-Pack
- View on Amazon
Measuring cups and spoons
Use your existing kitchen measures; do not swap weight and volume.
Amazon option: TILUCK Stainless Steel Measuring Cups and Spoons, 10-Piece Set
Search links show available options; check size, materials, compatibility and current seller details before choosing.
Recipe notes & food safety
Editorial draft — cooking, timing and origin review pending. Kitchen testing: not tested. Origin review is pending; no historical attribution is claimed.
Cooking times are estimates; kitchen testing is pending. Review labels, allergies and household needs. Keep raw ingredients separate and follow the recipe's temperature guidance. Serving illustrations are AI-generated.